Skool Tutorial: Build a $10K/Month Community in Under 1 Hour
If you’re looking to build a thriving online community and monetize your knowledge, this guide will walk you through exactly how to set up a professional community platform using Skool. I’ll show you step-by-step how to create a membership site that converts customers and delivers real value in less than an hour of work.
In my video, I break down the complete process of building out a community area that actually works, from initial setup to advanced gamification features.
This tutorial covers everything you need to know about leveraging this powerful platform that Alex Hormozi recently invested in.
Why Skool Is Generating So Much Buzz Right Now
Alex Hormozi, one of the most influential business educators on the internet, recently made a significant investment in Skool. This platform enables creators to build private community areas and groups where you can charge monthly subscriptions to increase your business revenue. In my video, I explain how people are showing results of making $10,000 per month on this platform, and there’s genuine momentum behind these claims.
What makes Skool different from traditional platforms is its focus on community-first education. Unlike older solutions that feel clunky and outdated, this platform has been designed from the ground up to facilitate engagement, learning, and monetization in one streamlined package.
Getting Started: Your Personal Profile vs Business Account
When you first join Skool, you won’t immediately have a business account. Instead, you’ll start with a personal account that functions like your LinkedIn or Twitter profile. I explain in my video that this is where you engage with other communities by liking and commenting with your username and profile picture.
One quirk I encountered is that you can’t change your profile details immediately after signing up. The platform requires you to gain 30 followers and make 90 comments across different communities before you can customize your username and profile information. While I personally wish you could change this straight away, I understand this prevents spam accounts and username squatting.
When you use my link, you’ll see a referral confirmation on the sign-up page, and for a limited time, you’ll be automatically entered into “The Game” – Alex Hormozi’s competition where top performers can meet him in person in Las Vegas if they achieve around $10,000 per month with their community.
The Core Features That Make Skool Powerful
Community Dashboard
The main community area functions essentially like a Facebook group dashboard or traditional social media platform. In my video, I show how members can write posts and have general discussions. You can create different filters and categories like general discussions, announcements, or specific topics that people want to discuss, allowing you to organize content in a much cleaner manner.
Classrooms for Course Hosting
The classrooms tab is where you’ll host your online courses and private videos. This is the educational content hub where people can progress through your video lessons. I demonstrate how easy it is to structure your courses with modules and individual lessons that students can work through at their own pace.
Calendar and Live Events
This is probably one of the most powerful tools within Skool. The calendar connects directly with Zoom, allowing you to create workshops and live streams where people can join group calls. In my experience, this is where tremendous value comes in for monthly subscriptions. I’m seeing successful creators charge around $97 per month and going live once or twice a week to answer questions and provide value to their community.
When you have thousands of people paying that subscription fee, it becomes absolutely worth your time to prepare content and host these live sessions. The beauty is that when you set up an event, you can email everybody within the community directly, ensuring they actually see your notification – unlike YouTube or Twitch where only about 10% of your followers ever see your live stream announcements.
Gamification Through Leaderboards
The leaderboards feature adds what I call intelligent gamification to your community. You can create levels and achievements that trigger dopamine responses in your members. When someone sees they’ll reach level two by leaving 10 comments, it naturally encourages engagement.
This allows you to manufacture ways for people to engage with content you’re posting in the community tab, which helps in multiple ways. You get an active and vibrant community because people are trying to level up and be number one on the leaderboard. They answer other people’s questions, post their own content, and keep things lively.
Compared to older Facebook group methods where you as the creator had to constantly post original content, PDFs, and downloads to keep the group engaged, the gamification elements create a more passive management system that puts less stress on you while maintaining high engagement.
Setting Up Your Branding
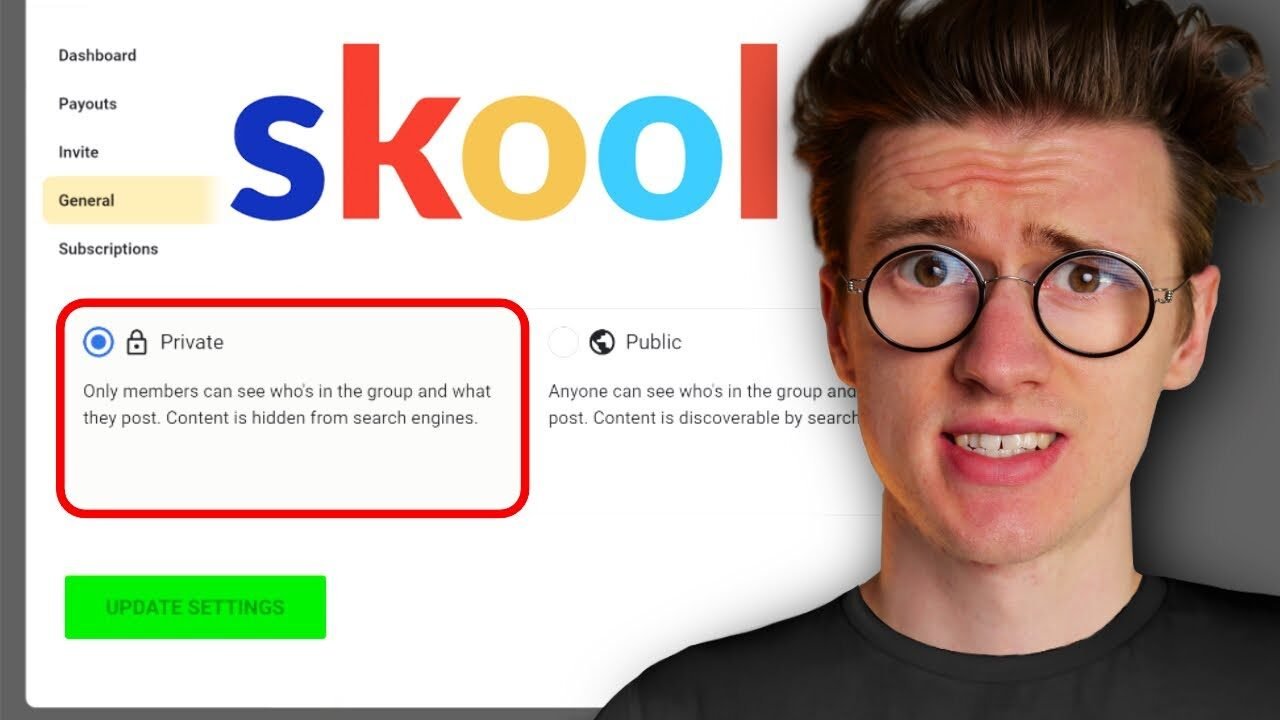
In my video, I walk through uploading your cover photo and customizing your group’s visual identity. The general settings allow you to change your group name, icon, and cover image. I recommend preparing your assets beforehand – square images work best for profile pictures, and the platform will show you the recommended file sizes.
One feature I really appreciate is the ability to customize your brand colors using hex codes. This ensures your community area matches your existing branding perfectly. Once you’ve activated and completed your free trial, you’ll get the option to customize your URL as well, which prevents people from signing up just to steal popular creator URLs.
The Video Hosting Challenge
I need to be transparent about what I consider Skool‘s biggest weakness: native video hosting. Unlike platforms like Kajabi, which includes video hosting in the monthly subscription, Skool requires you to host videos externally on YouTube, Vimeo, Loom, or Wistia.
While you could technically use unlisted YouTube videos, they’re not truly secure – people can easily copy and paste those links to share with others who haven’t paid for access. In my experience, Vimeo is the only real option for properly protected video hosting, but it gets expensive quickly. At $100 per month, you can only have 500 videos total in your account, and that’s a lifetime limit, not per month.
When you consider that one online course could easily contain 50 videos, having just 10 courses means you’ve maxed out at $100 per month. Combined with the $99 monthly fee for Skool, you’re spending nearly $2,400 per year without unlimited video uploads. This is why I often recommend Kajabi for creators planning to build multi-million dollar businesses, as it includes comprehensive video hosting and more tools out of the box.
Creating Your First Community Posts
In my video, I demonstrate creating a welcome post with community guidelines. The process is straightforward – you click to write something, add your guidelines with bullet points outlining what members should and shouldn’t do, and you can include links to other resources.
One major advantage over platforms like Instagram or TikTok is that you won’t be penalized for sharing links. This is your private community, so you can freely direct people to your merch, courses, or other offerings without worrying about algorithm penalties. You can choose which category the post appears in and whether to send it out to all members via email.
You can create additional discussion categories with custom permissions. For example, you might create an “Announcements” category where only admins and moderators can post, but anyone can view. This keeps important information clean and easy to find, while other categories can allow full community participation.
Building Out Your Course Structure
The classrooms section is where you’ll add your educational content. I show in my video how to create a course by giving it a name and description, then choosing who has access. You can set it so all members can access it, only members of a certain level can view it, or use custom permissions.
The level-based access is particularly clever because it prevents people from skipping ahead before they’re ready. You might require someone to complete a beginner course and reach level four before accessing intermediate content, ensuring they don’t have knowledge gaps that would make the advanced material confusing.
Inside each course, you can build out modules and add individual video lessons. I love the way Skool handles course progression – students manually click to mark videos as complete, rather than automatically marking them done when you click next. This prevents the problem I’ve seen on platforms like Podia where people browse ahead out of curiosity and accidentally mark videos as complete that they haven’t actually watched.
Scheduling Live Events and Workshops
Setting up calendar events is remarkably simple. You click the plus icon, choose your date, and select whether it’s an in-person meetup or an online event via Zoom, Google Meet, or an external platform. I walk through adding a Zoom link, setting the time and time zone (which is especially helpful if you travel frequently), and setting the duration.
The control over who can attend is sophisticated. You can limit attendance to all members, members of a certain level, or members enrolled in a specific course. This ensures you’re only getting qualified viewers in your live streams who are ready for that content, rather than beginners wandering into advanced workshops.
The reminder system automatically emails your entire community one day before the event, and attendees can add the event to their personal Apple or Google calendars with one click.
Advanced Gamification Settings
In my video, I demonstrate how to customize the gamification system beyond basic levels. You can create custom names for each level that resonate with your specific audience. For example, if you have a Gen Z gaming audience, level one might be “Noob” while level 10 could be “The GOAT” (Greatest Of All Time).
You then tie specific course access to these levels. When you edit a class and set it to require level four access, the platform automatically updates the leaderboard to show members exactly what they’ll unlock at each milestone. This creates a clear progression path that encourages people to maintain their subscription and actively participate to unlock more content.
Skool vs Kajabi: Which Should You Choose?
I use Kajabi for my music education business where we sell lower-ticket courses around $67. Kajabi excels at facilitating one-off purchases through a traditional marketplace where people can browse and buy courses. With Kajabi 2.0 and their acquisition of Vibely, they’ve added strong community features that compete directly with Skool.
However, Skool is brilliant if you specifically want a community-first platform that’s incredibly fast to set up. If you already have social media accounts and just need a place for exclusive content with recurring subscriptions, Skool is perfect. You can get everything up and running in about an hour.
Kajabi is more expensive per month and has caps on student numbers (though you can upgrade), but it includes email marketing, landing pages, and video hosting all in one package. If you use my link, you get an extended 30-day free trial instead of the standard 14 days, giving you a full month to test it out completely free.
The Skool Marketplace Advantage
One unique feature I explain in my video is that Skool has a built-in marketplace for discovering communities. People can browse and join different creator groups directly on the platform. As your group grows to thousands of members, you’ll rank higher on the homepage, similar to how YouTube’s browse features work.
This provides an additional traffic source beyond your own social media channels. It’s like having your own premium version of Skillshare where you own all the customer relationships and set your own pricing, rather than earning pennies per minute watched on someone else’s platform.
Is Skool Right for Your Business Model?
After building out multiple communities and testing this platform extensively, I believe Skool works best for creators who want to build recurring revenue through a membership model. If you’re comfortable going live regularly to deliver value and you want to create an engaged community around your expertise, this platform is incredibly powerful and efficient.
The setup process takes roughly an hour to get the basics in place, and then of course you’ll need to create your actual course content. But fundamentally, getting your community infrastructure ready is fast and straightforward. I’m genuinely impressed with how intuitive and well-designed this tool is for the specific purpose of community-based education.
The combination of discussion forums, structured courses, live event capabilities, and gamification creates a comprehensive ecosystem that keeps members engaged and willing to pay monthly subscriptions. Unlike trying to build this yourself or cobble together multiple tools, everything works together seamlessly within one platform.